Eye judgment isn't enough on large-format tile.
On tiles with an edge over 40 cm, surface bow and adhesive shrinkage can create lippage after the bed dries. The system holds the tiles fixed throughout the cure.
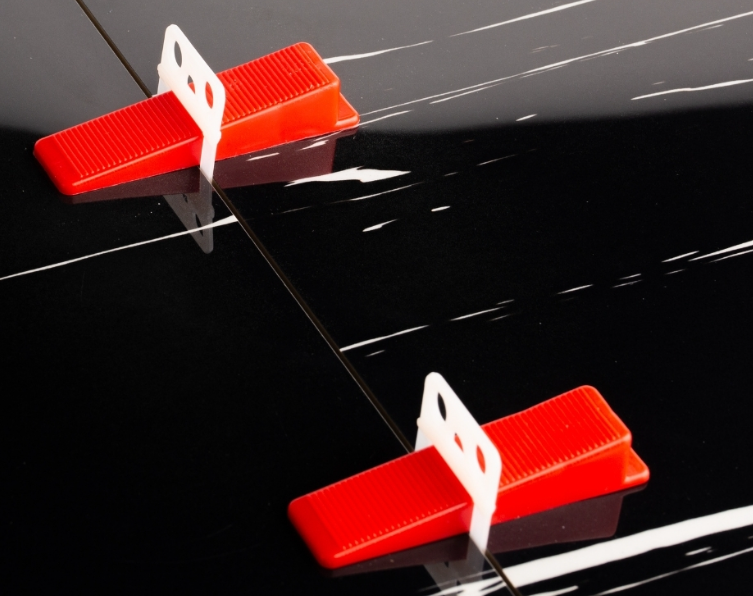
Installation System
Professional-grade leveling clips, reusable wedges, installation pliers and cross spacers for flat tile installations, export packs and OEM/private label supply.
One of the fundamentals of a good ceramic installation is controlling lippage — the height difference between adjacent tiles. On large-format tiles in particular, even a skilled installer struggles to achieve a flawless plane by eye and hand alone. A tile leveling system solves this with a three-part assembly of clips, wedges and pliers that holds tiles in plane while the adhesive cures.
Aluprofilium supplies a complete leveling ecosystem — reusable clips, adjustable wedges, ergonomic installation pliers and a full range of cross spacers — engineered for professional contractors and high-volume project use. The system is easy to learn, fast on site, and reliable for installers of any experience level. Bulk packaging and export-grade pricing make it a natural add-on to any Aluprofilium trim order.
Technical overview
Technical guidance
Review component selection, joint width, tile thickness and installation workflow before preparing the order requirement.
Selected for Tile Leveling SystemsShare the leveling catalog and spacer data sheet with purchasing, technical and warehouse teams before quotation. Both documents support export, OEM and private label discussions.
System overview, component benefits, usage FAQ, consumption guidance and packing details for clips, wedges and pliers.
PDF · 1 page Aluprofilium Spacers Data SheetSpacer recommendations, tile format consumption table, model list, product codes, dimensions and quantity-per-bag data.
Used together, clips, wedges and pliers give the installer the same tightening feel on every row, reducing rework and protecting the finished surface.
On tiles with an edge over 40 cm, surface bow and adhesive shrinkage can create lippage after the bed dries. The system holds the tiles fixed throughout the cure.
When clips, wedges and pliers are used together, the installer gets a consistent tightening feel on every row — a more controlled surface and far less correction work in serial jobs.
Joint width, tile thickness, pack quantity, carton layout and shipment batch are documented at the quote stage — so site, dealer and export loading all work from the same information.
Clips, wedges and pliers form the three-part leveling assembly; cross spacers complete the range for even joints across the whole installation.
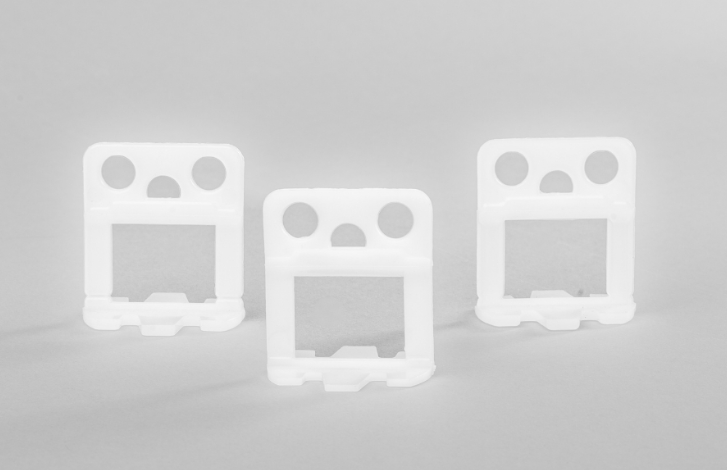
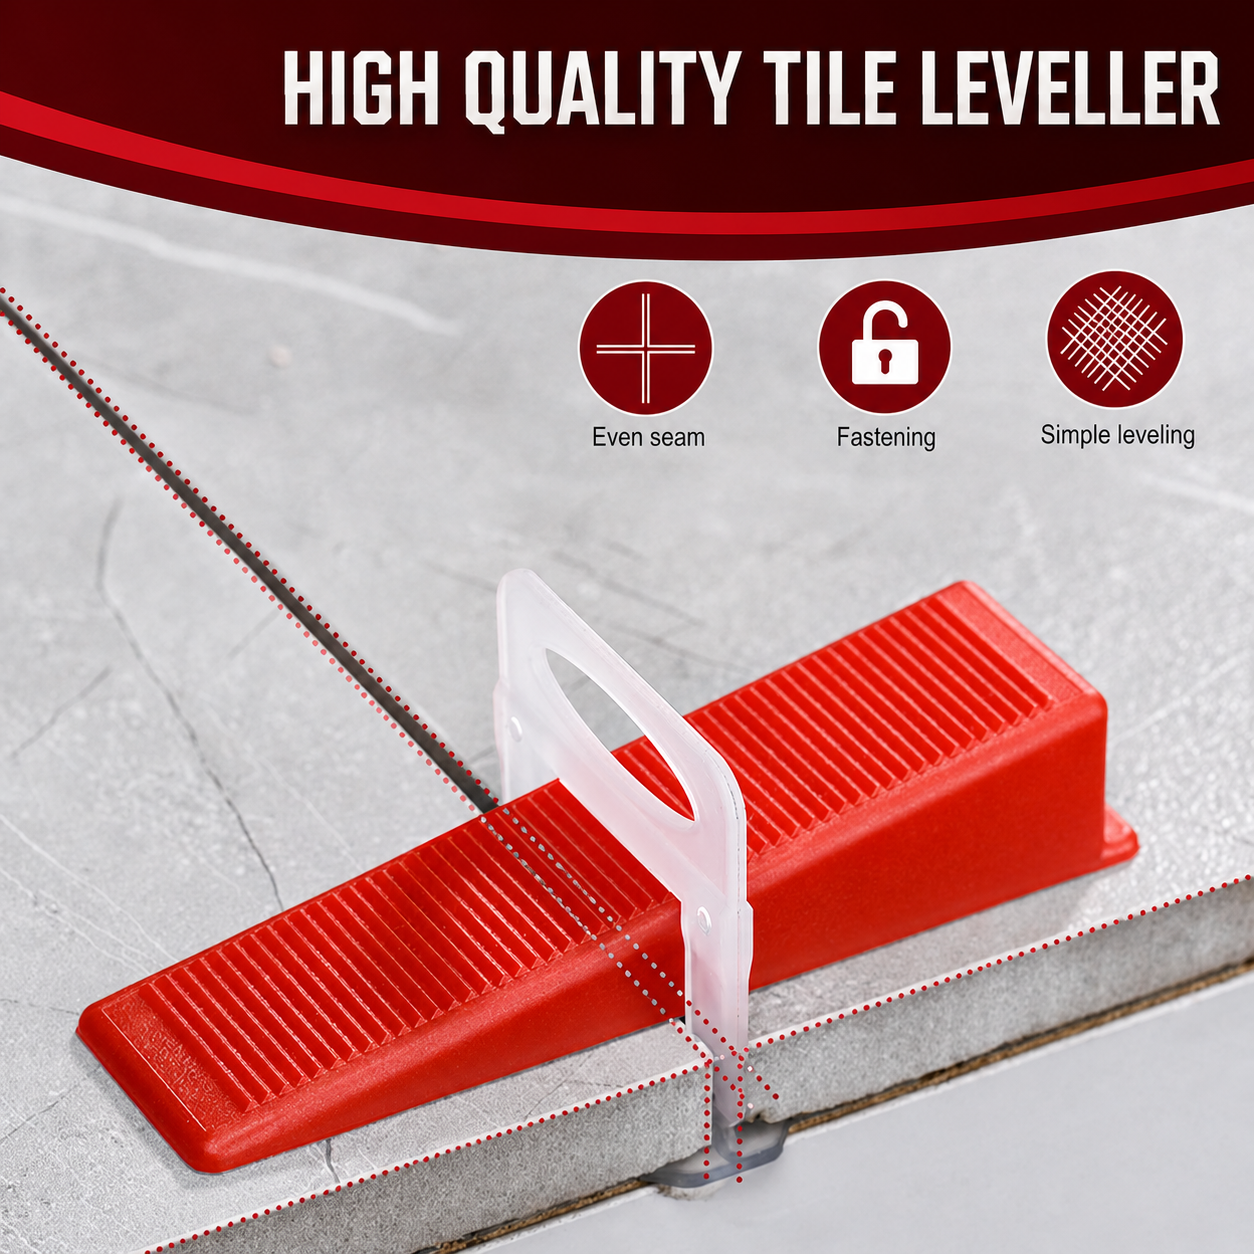
Clips are designed to apply vertical pressure in a controlled way and to break off cleanly once the adhesive has set.
Standard and XL clips are labelled so size, joint width, count and batch are readable. Prepared in 100, 250, 500 and 1000-unit packs for dealer shelf, project store and export carton.
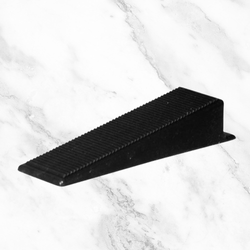
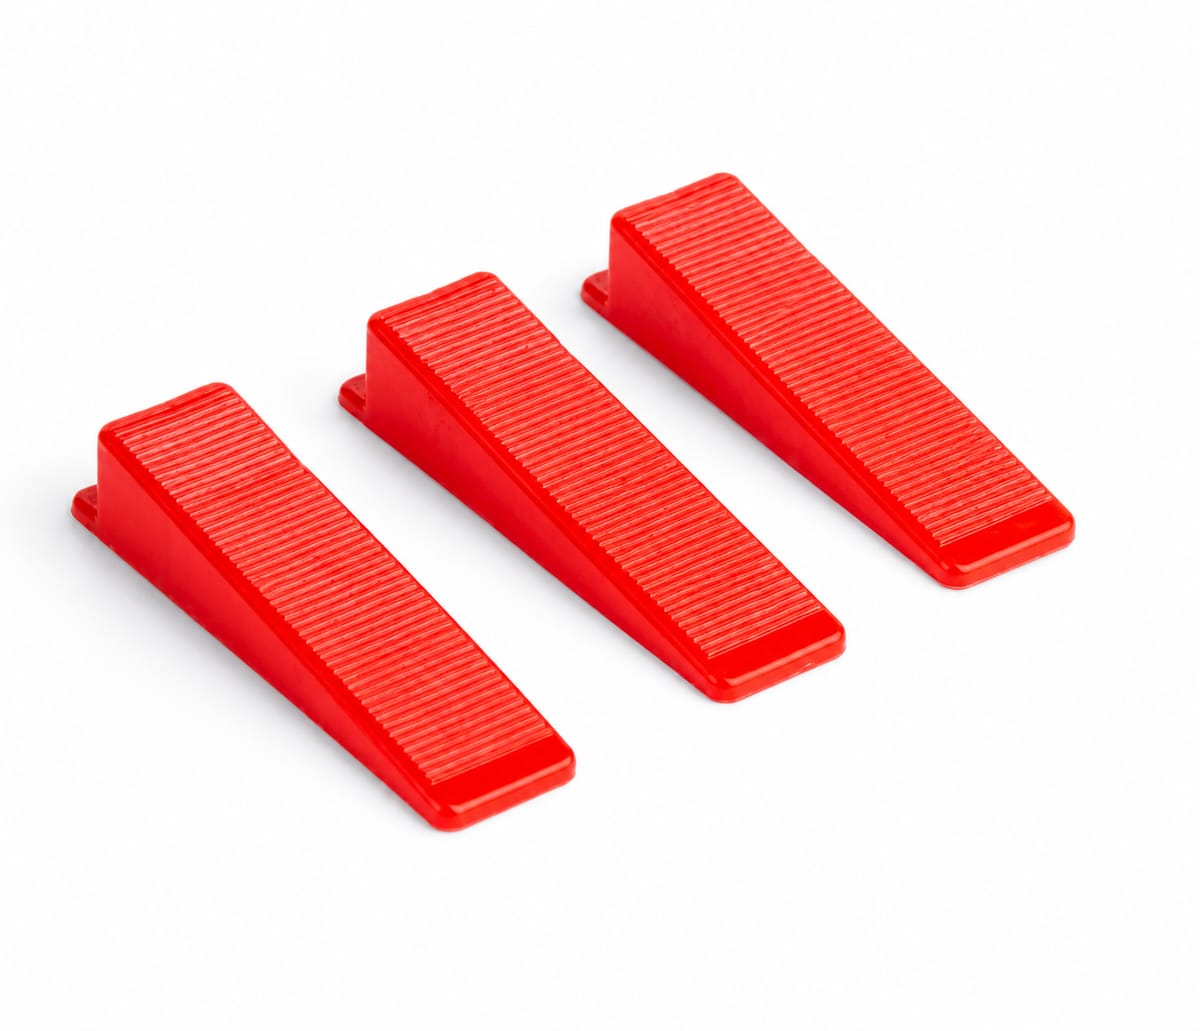
A controlled tooth profile advances over the clip to hold the surface level — and the wedge is built to be reused.
The single-model wedge is packed with a clear unit count that simplifies counting in mixed orders. Because it is reusable, the pack tracks model, colour, carton count and shipment batch.
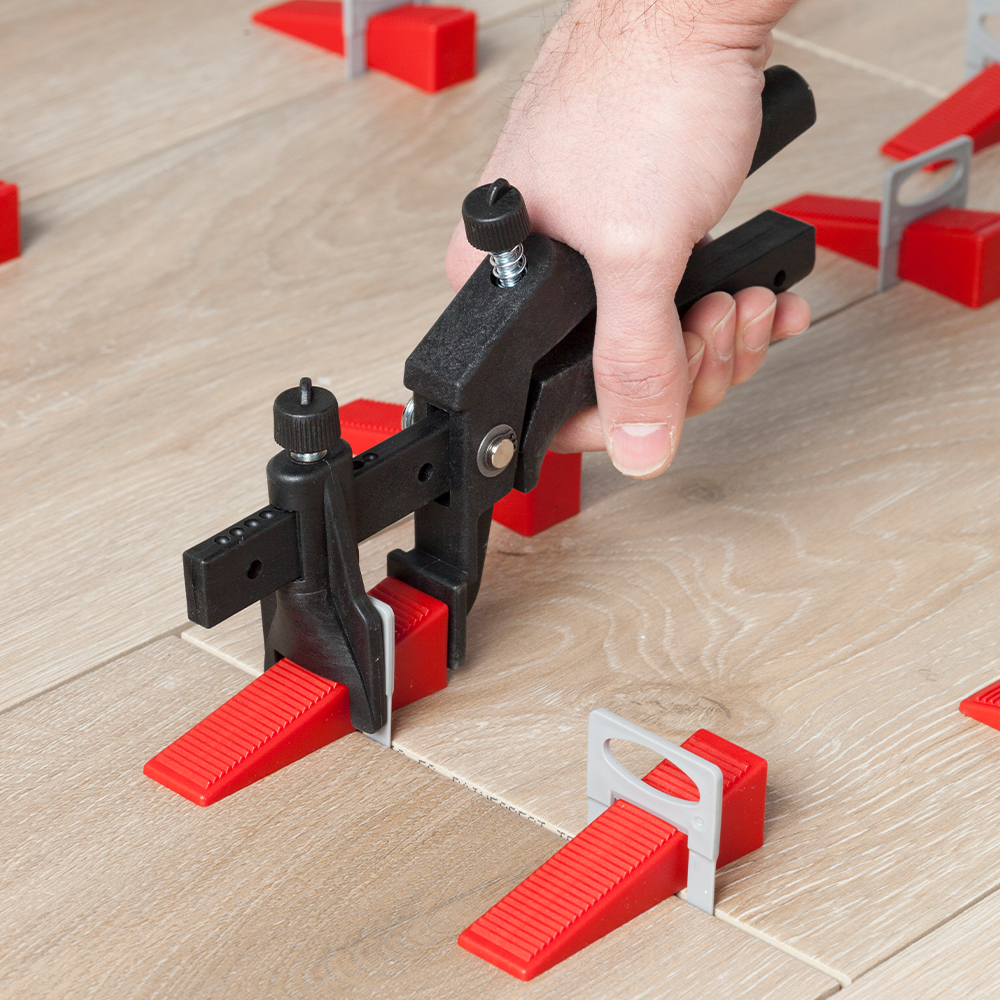
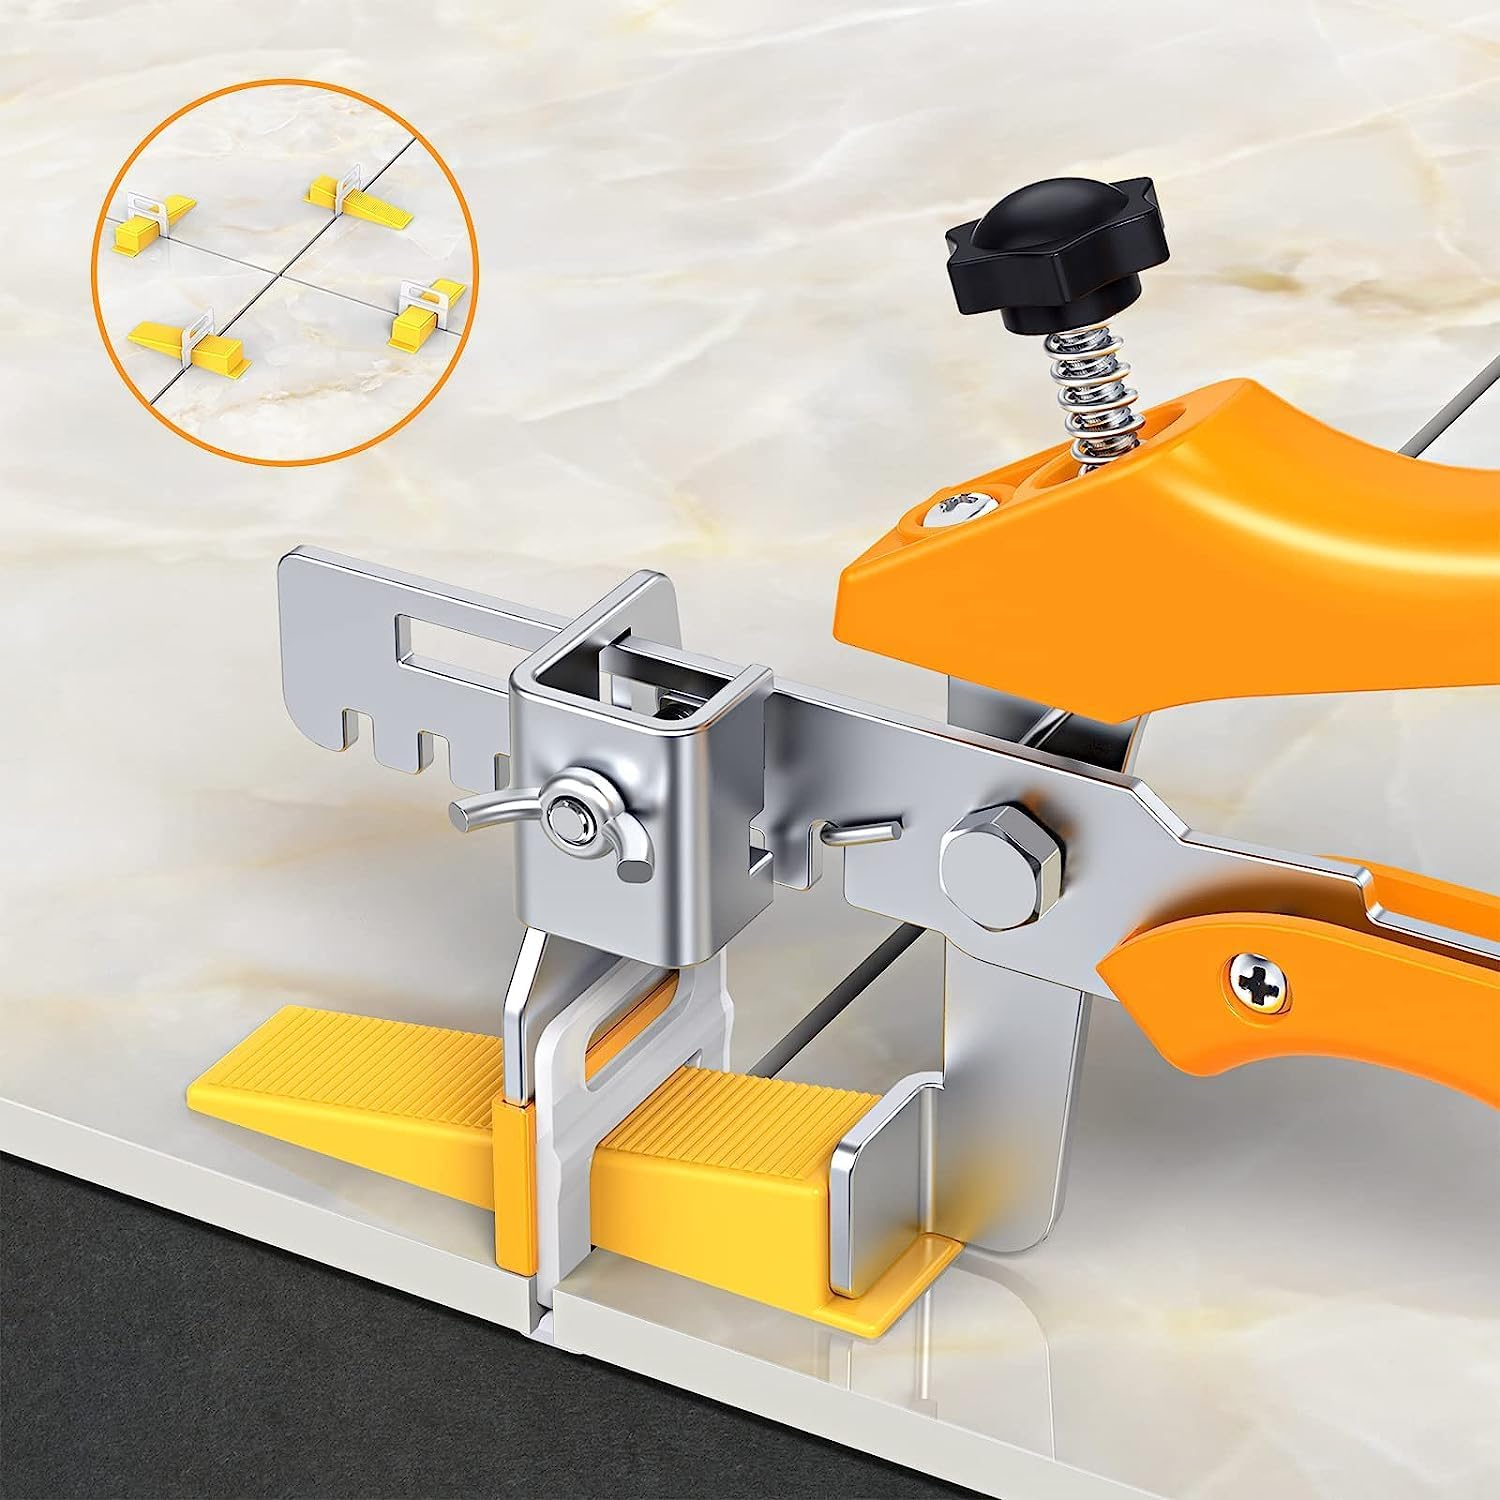
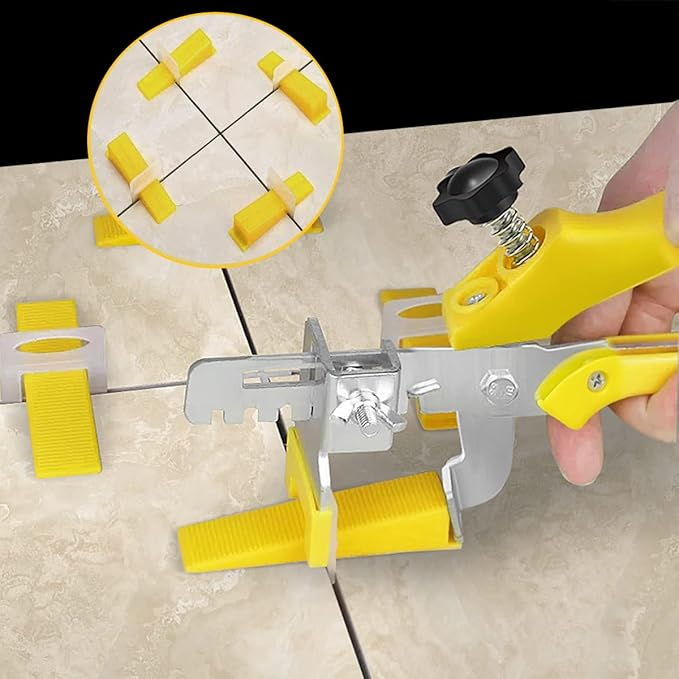
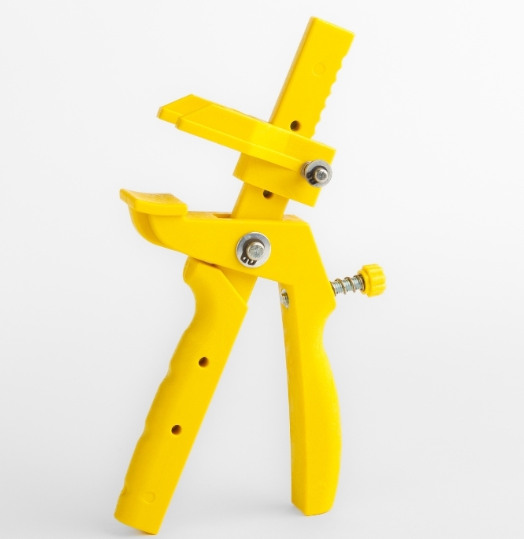
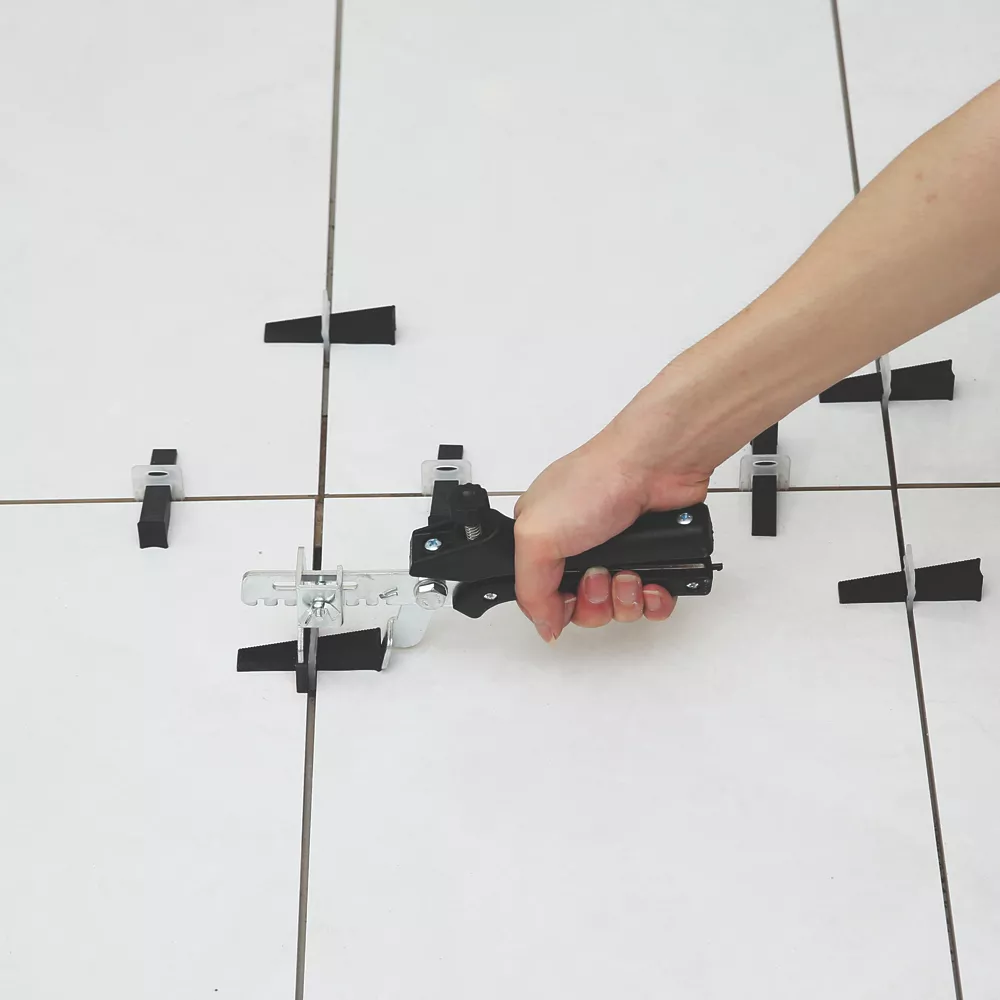
The plier pushes the wedge at the correct angle to build controlled pressure on the clip, helping keep the same tightening feel across serial installations.
Metal and plastic pliers carry separate product codes. Each shipment specifies the tool type, carton count and pack contents, tied to the same shipment plan as the clip and wedge lines in wholesale orders.
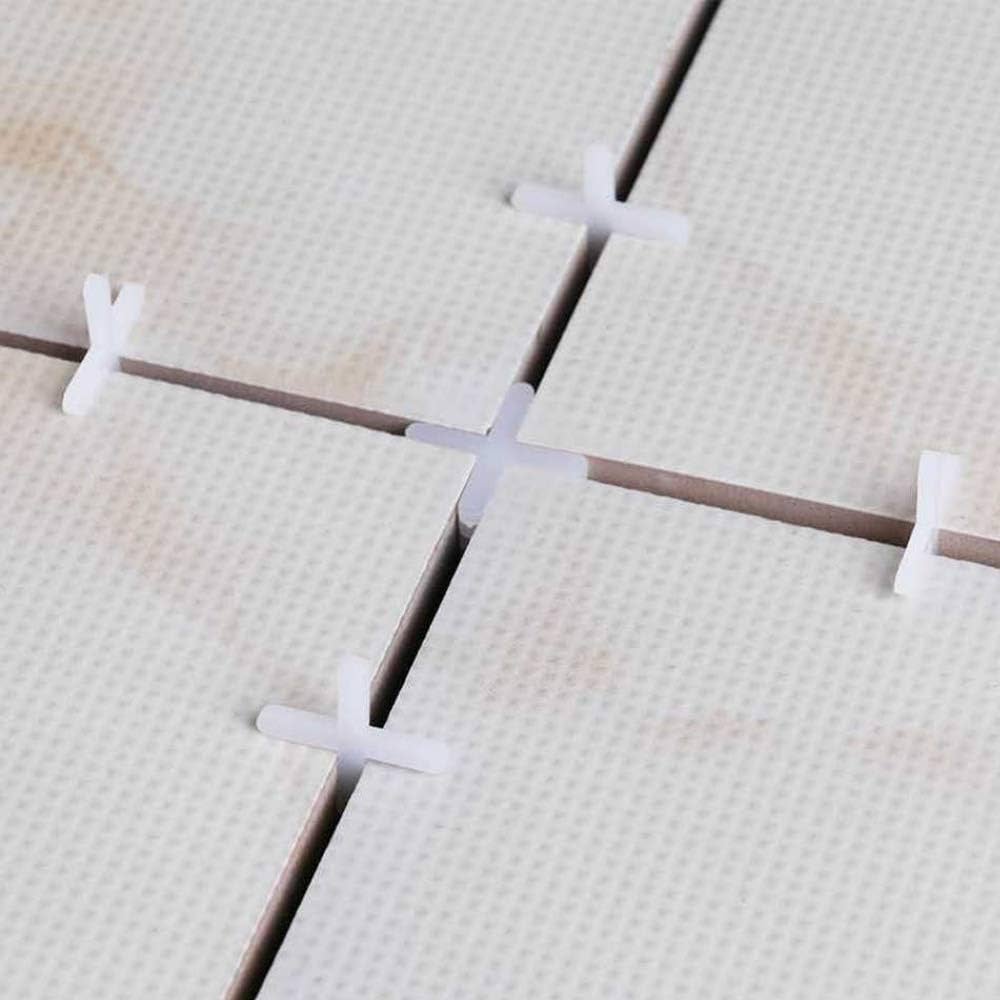
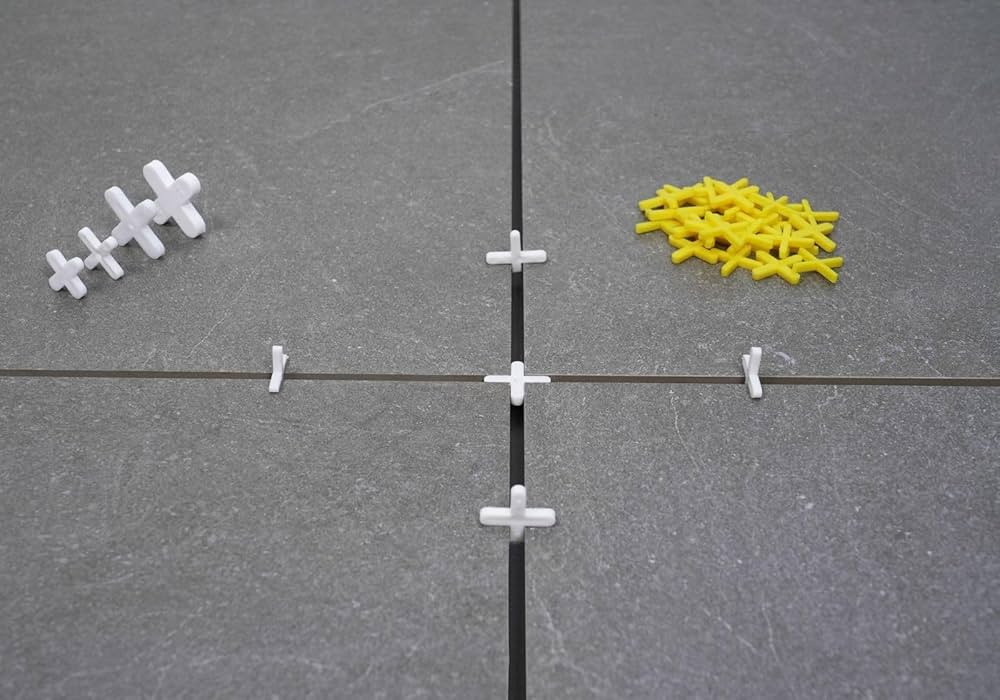
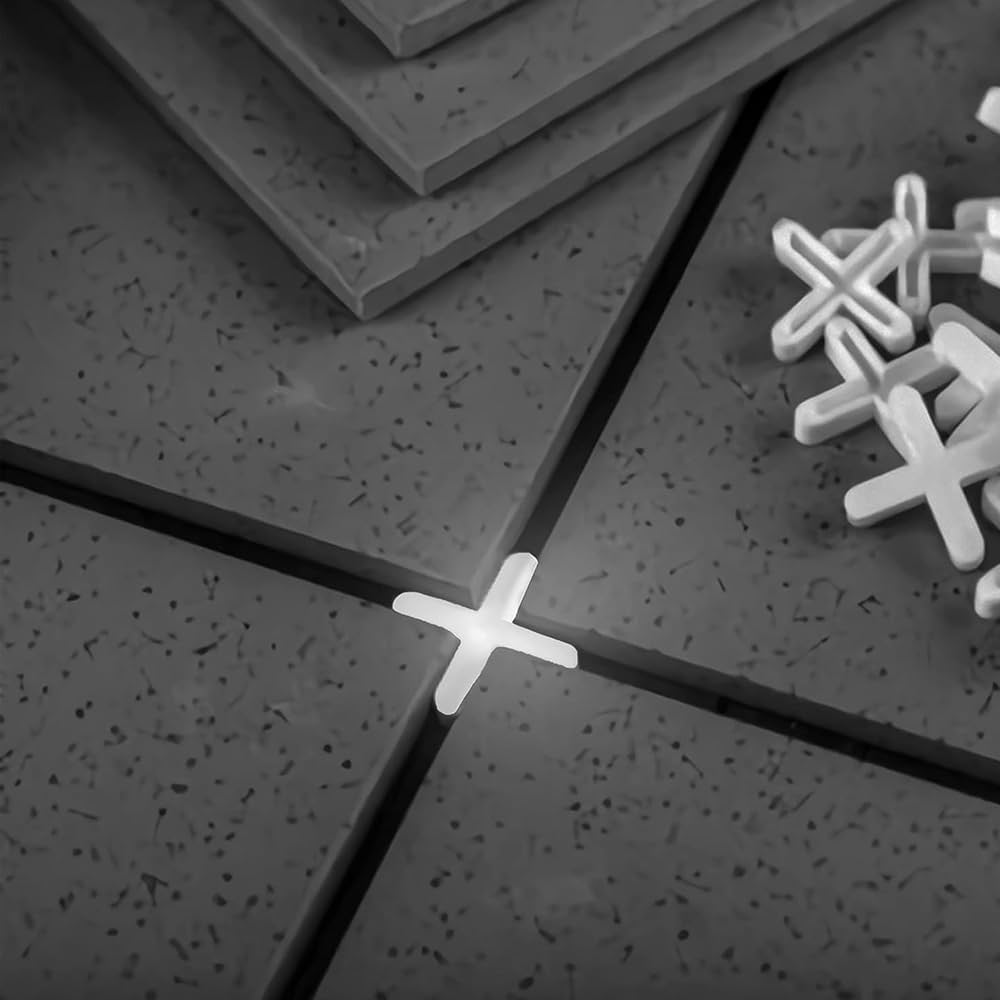
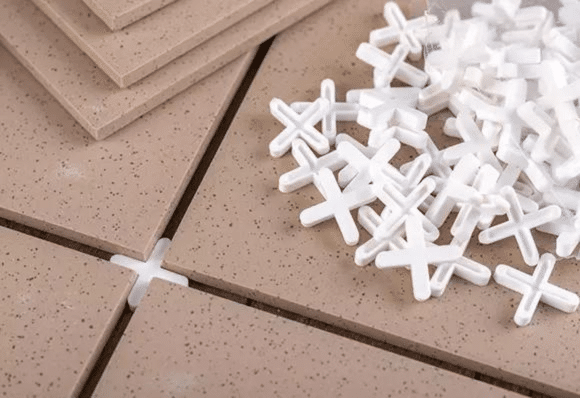
A long-standing staple of ceramic installation: correct alignment and even joints are the foundation of a flawless result. We offer 25+ spacer models from 1 mm to 10 mm — Standard, Notched, Removable and T-shaped — so there's a fit for every project.
Cross spacers are labelled so size, form (cross / T), count and batch are readable. Prepared in 100, 250, 500 and 1000-unit packs for dealer shelf, project store and export carton.
The spacer range supports consistent grout lines, edge protection and cleaner alignment in ceramic, porcelain, marble and stone applications. Standard packs are prepared for dealer shelf, project stock and export cartons.
| Product code | Product name | Dimensions | Qty / bag |
|---|---|---|---|
| ALPF001 | 1 mm Tile Spacer | 20 × 20 mm | 250 / 500 |
| ALPF002 | 1.5 mm Tile Spacer | 25 × 25 mm | 250 / 500 |
| ALPF003 | 2 mm Tile Spacer | 27 × 27 mm | 250 / 500 |
| ALPF004 | 2.5 mm Tile Spacer | 27 × 27 mm | 250 / 500 |
| ALPF005 | 3 mm Tile Spacer | 25 × 25 mm | 250 / 500 |
| ALPF006 | 4 mm Tile Spacer | 25 × 25 mm | 250 / 500 |
| ALPF007 | 5 mm Tile Spacer | 31 × 31 mm | 250 / 500 |
| ALPF008 | 2 mm Grooved Tile Spacer | 27 × 27 mm | 250 / 500 |
| ALPF009 | 3 mm Grooved Tile Spacer | 33 × 33 mm | 250 / 500 |
| ALPF010 | 4 mm Grooved Tile Spacer | 34 × 34 mm | 250 / 500 |
| ALPF011 | 5 mm Grooved Tile Spacer | 36 × 36 mm | 250 / 500 |
| ALPF012 | 6 mm Grooved Tile Spacer | 37 × 37 mm | 250 |
| ALPF013 | 8 mm Grooved Tile Spacer | 39 × 39 mm | 250 |
| ALPF014 | 10 mm Grooved Tile Spacer | 46 × 46 mm | 250 |
| ALPF015 | 2 mm T Shape Tile Spacer | 24 × 14 mm | 250 / 500 |
| ALPF016 | 3 mm T Shape Tile Spacer | 24 × 14 mm | 250 / 500 |
| ALPF017 | 6 mm T Shape Tile Spacer | 30 × 19 mm | 250 |
| ALPF018 | 8 mm T Shape Tile Spacer | 38 × 23 mm | 250 |
| ALPF019 | 10 mm T Shape Tile Spacer | 46 × 28 mm | 250 |
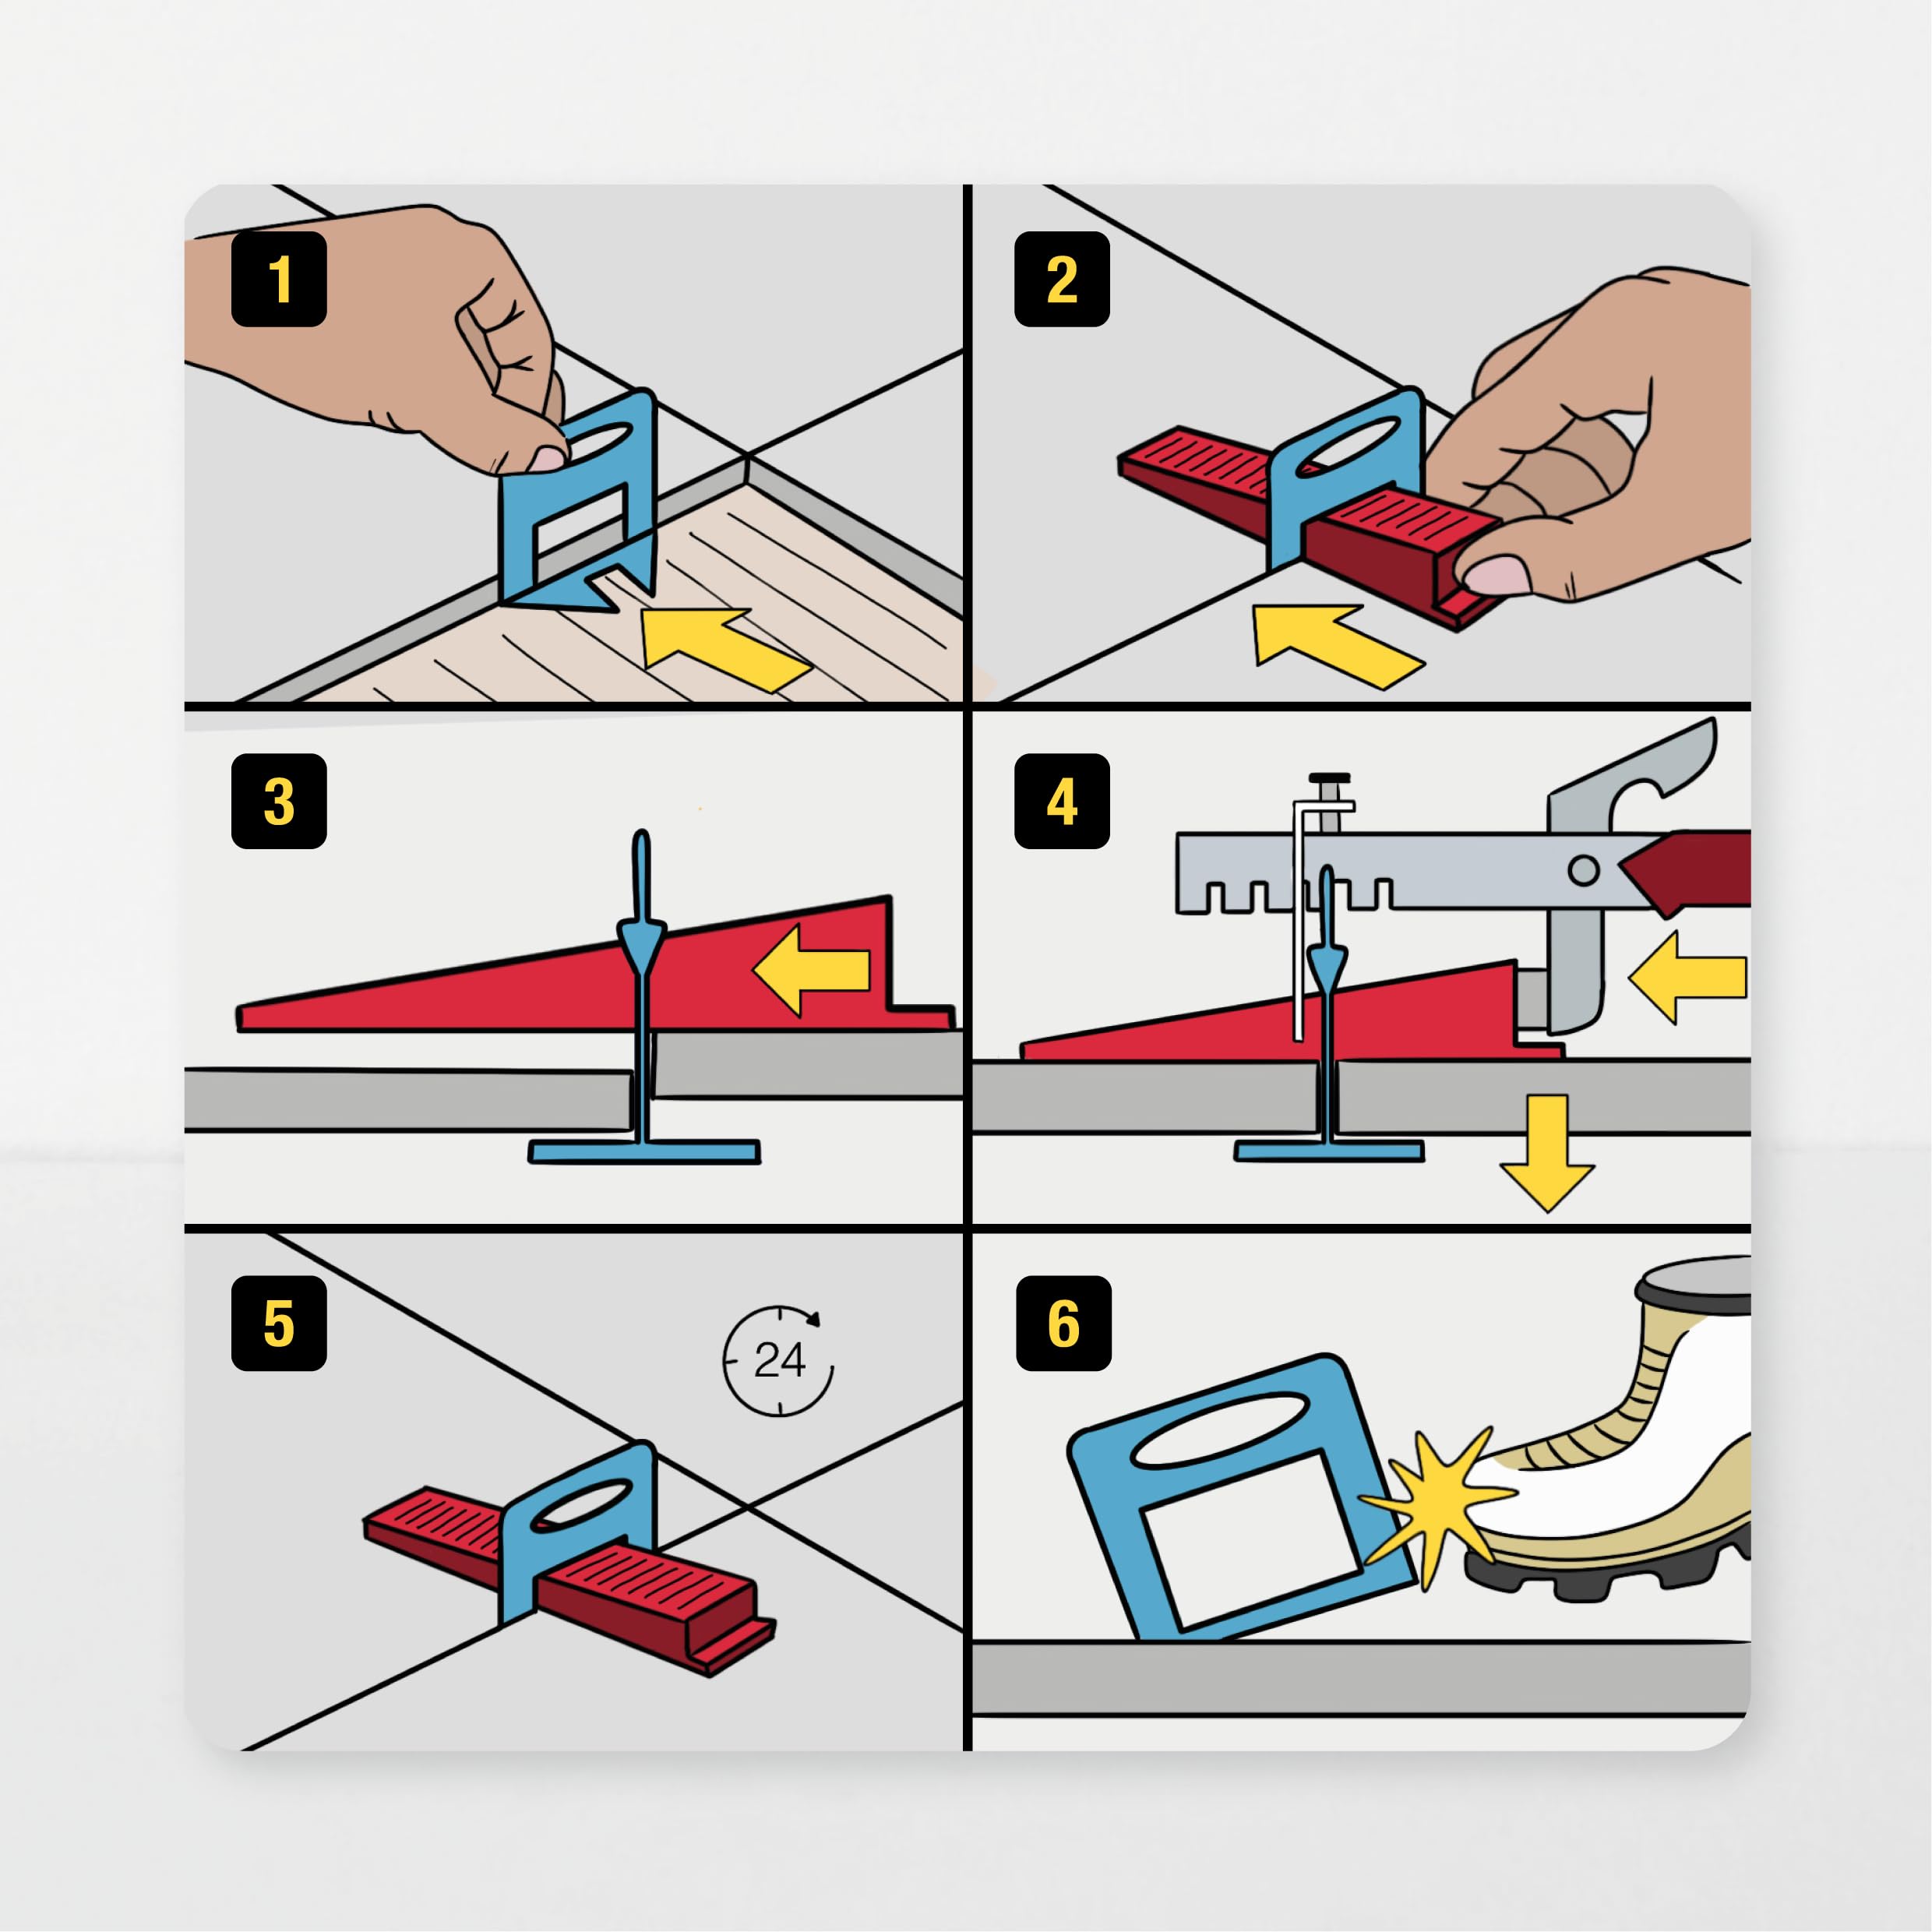
Clips are placed under the adjacent tile edges and the wedge is pushed down against them, applying even vertical pressure that holds both tiles in the same plane until the adhesive has fully cured — then the clip breaks off cleanly along the joint line.
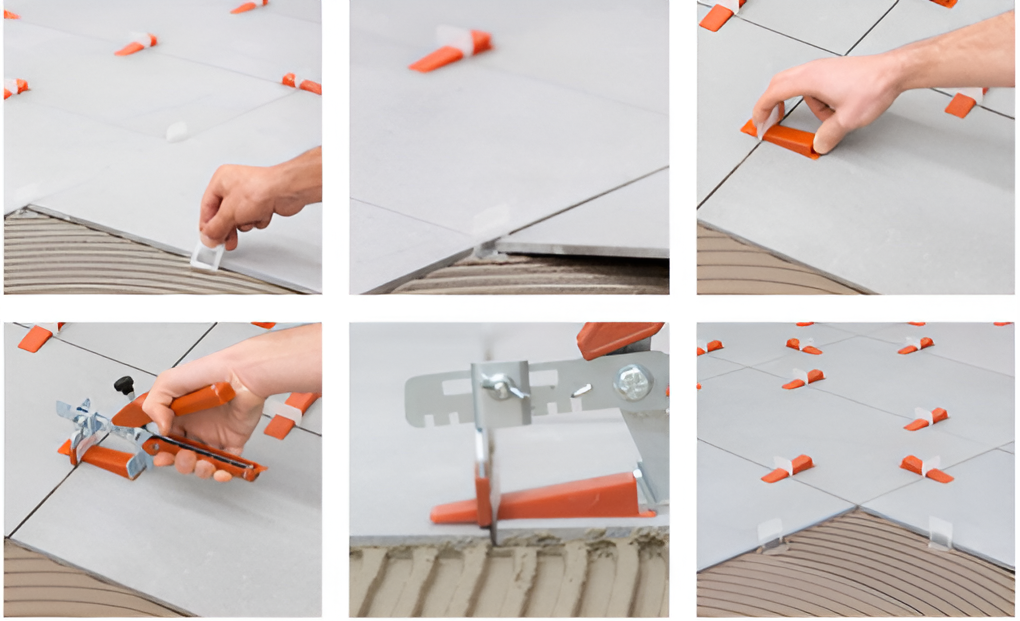
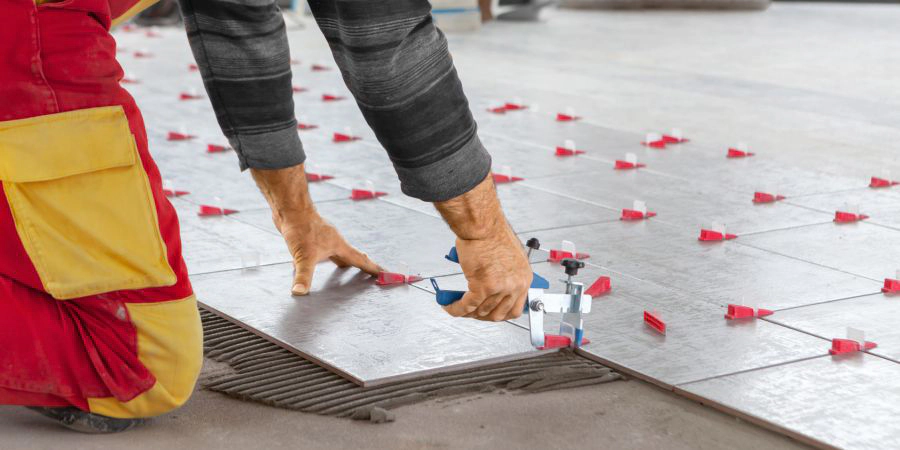
What the installer, the buyer and the wholesaler should know before placing an order — written down before the quote.
Clip size is selected by tile thickness, surface tolerance and joint width. Ordering without this leads to under-tightening or wasted product on site.
Adhesive bed, trowel direction and back-of-tile contact must be prepared correctly. The system supports good prep; it won't rescue a hollow or weakly bonded surface on its own.
Removal must run parallel to the joint line. Vertical or reverse blows risk the tile edge; correct removal protects both the surface and the reusable wedges.
Clip and wedge counts vary by tile size. For project or wholesale orders, area, tile size and packaging preference are calculated together up front.
Products are prepared in carton, bag and set formats by order channel — built to make counting, labelling, barcoding, carton strength and shipment tracking clear for the buyer.
Catalog packing data can be adapted by order channel. The references below help purchasing teams discuss product type, joint size, quantity per bag and carton planning before quotation.
| Code | Product | Dimension | Typical qty / bag |
|---|---|---|---|
| AP-LVL-001 | Tile Leveling Wedge | Standard | 100 / 250 / 300 / 500 / 1000 |
| AP-LVL-002 | Tile Leveling Clip | 1 mm · 3-12 mm tile | 100 / 200 / 250 / 300 / 500 / 1000 |
| AP-LVL-003 | Tile Leveling Clip | 1.5 mm · 3-12 mm tile | 100 / 200 / 250 / 300 / 500 / 1000 |
| AP-LVL-004 | Tile Leveling Clip | 2 mm · 3-12 mm tile | 100 / 200 / 250 / 300 / 500 / 1000 |
| AP-LVL-005 | Tile Leveling Clip | 3 mm · 3-12 mm tile | 100 / 200 / 250 / 300 / 500 / 1000 |
| AP-LVL-006 | XL Leveling Clip | 1 mm · 12-20 mm tile | 100 / 200 |
| AP-LVL-007 | XL Leveling Clip | 1.5 mm · 12-20 mm tile | 100 / 200 |
| AP-LVL-008 | XL Leveling Clip | 2 mm · 12-20 mm tile | 100 / 200 |
| AP-LVL-009 | Metal Plier | Standard | 1 |
| AP-LVL-010 | Plastic Plier | Standard | 1 |
Tile sizes have grown in recent years. Where 60×60 cm was once considered large, sizes such as 90×90 cm and 120×240 cm are now common. Large-format tiles can carry a natural surface bow — place two back to back and you'll see they aren't perfectly flat. An installer can't fully cancel this physical curve by hand skill alone.
The second reason is the physical behaviour of the adhesive. As the water in the adhesive dries, the material can shrink through hydration, and that shrinkage isn't equal at every point. A leveling system holds the tiles fixed, helping prevent the surface from moving while the adhesive cures.
Any tile with an edge longer than 40 cm is considered large format. At these sizes, a leveling system becomes critical for the correct joint width and a flat surface plane.
Lippage is the vertical height difference between two adjacent tiles. Outdoors it is a pedestrian safety risk; indoors it affects comfort of use — and it can cause chipping and nicking at the tile edges.
As a practical reference, an acceptable lippage level is roughly the thickness of a credit card: about 0.75 mm, or approximately 0.03 inch.
A and B refer to the two edge dimensions of the tile. The number of clips and wedges used varies with tile size.
Example: a 60×60 cm tile needs roughly 11 wedges and 11 clips per square metre.
Surface finish
Surface options are reviewed against the selected profile, intended use and quotation requirements.
Review finish optionsExport preparation
Protective wrapping, bundling, cartons or crates are selected according to the profile and shipment requirement.
Review packaging & exportTechnical file
Use the current catalog as a reference, then confirm the selected section and technical requirement with the export desk.
Open product catalog Request technical information