Tile leveling clips and wedges help installers keep adjacent tiles on the same plane while the adhesive cures. Used correctly, they reduce lippage, speed up large-format installation and make grout joints more consistent across the full surface.
Before installation
Start with a clean, dry and structurally sound substrate. The adhesive should be selected for the tile size, tile material and working conditions; leveling accessories correct local height differences, but they do not replace correct substrate preparation or proper adhesive coverage.
Choose the clip thickness according to the required grout joint. Aluprofilium leveling clips are available in the common 1 mm, 1.5 mm, 2 mm and 3 mm references, with XL options for thicker tiles. Keep wedges and pliers ready before the first tile is placed so the installer can work without interrupting the adhesive open time.
Step-by-step use
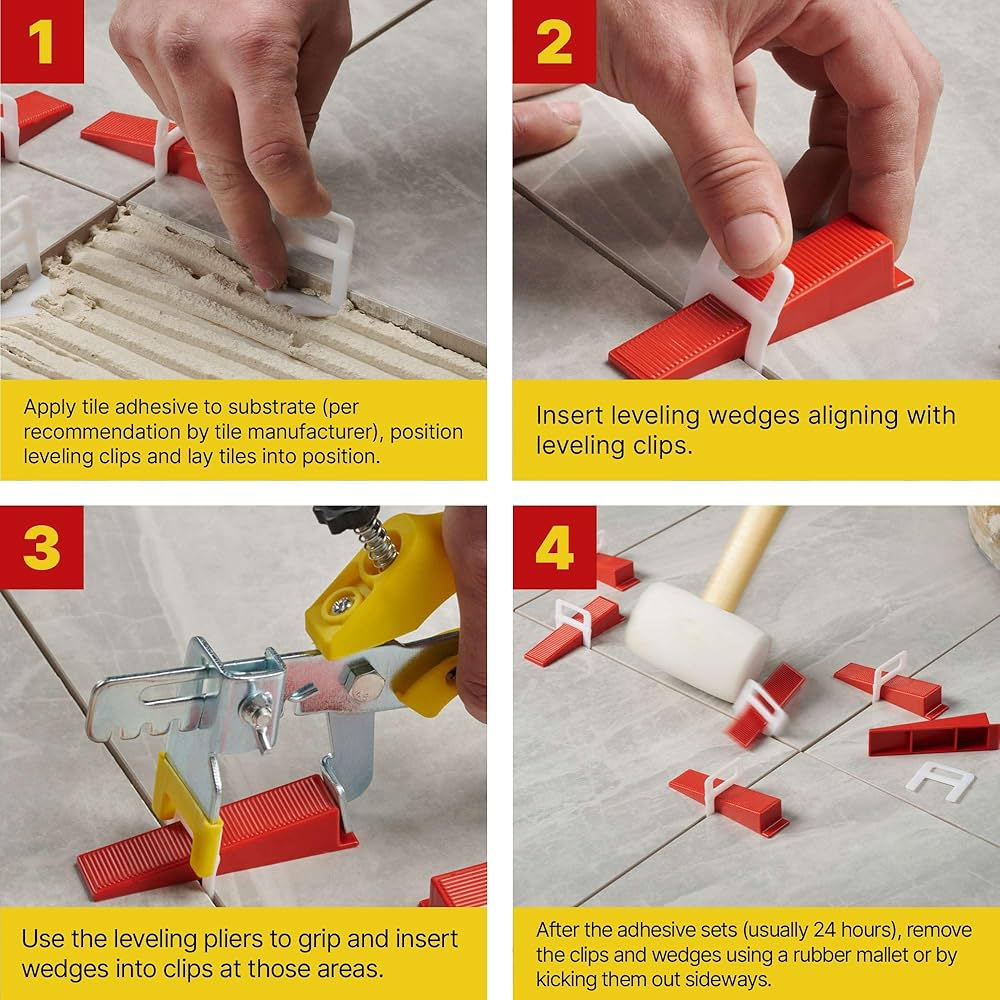
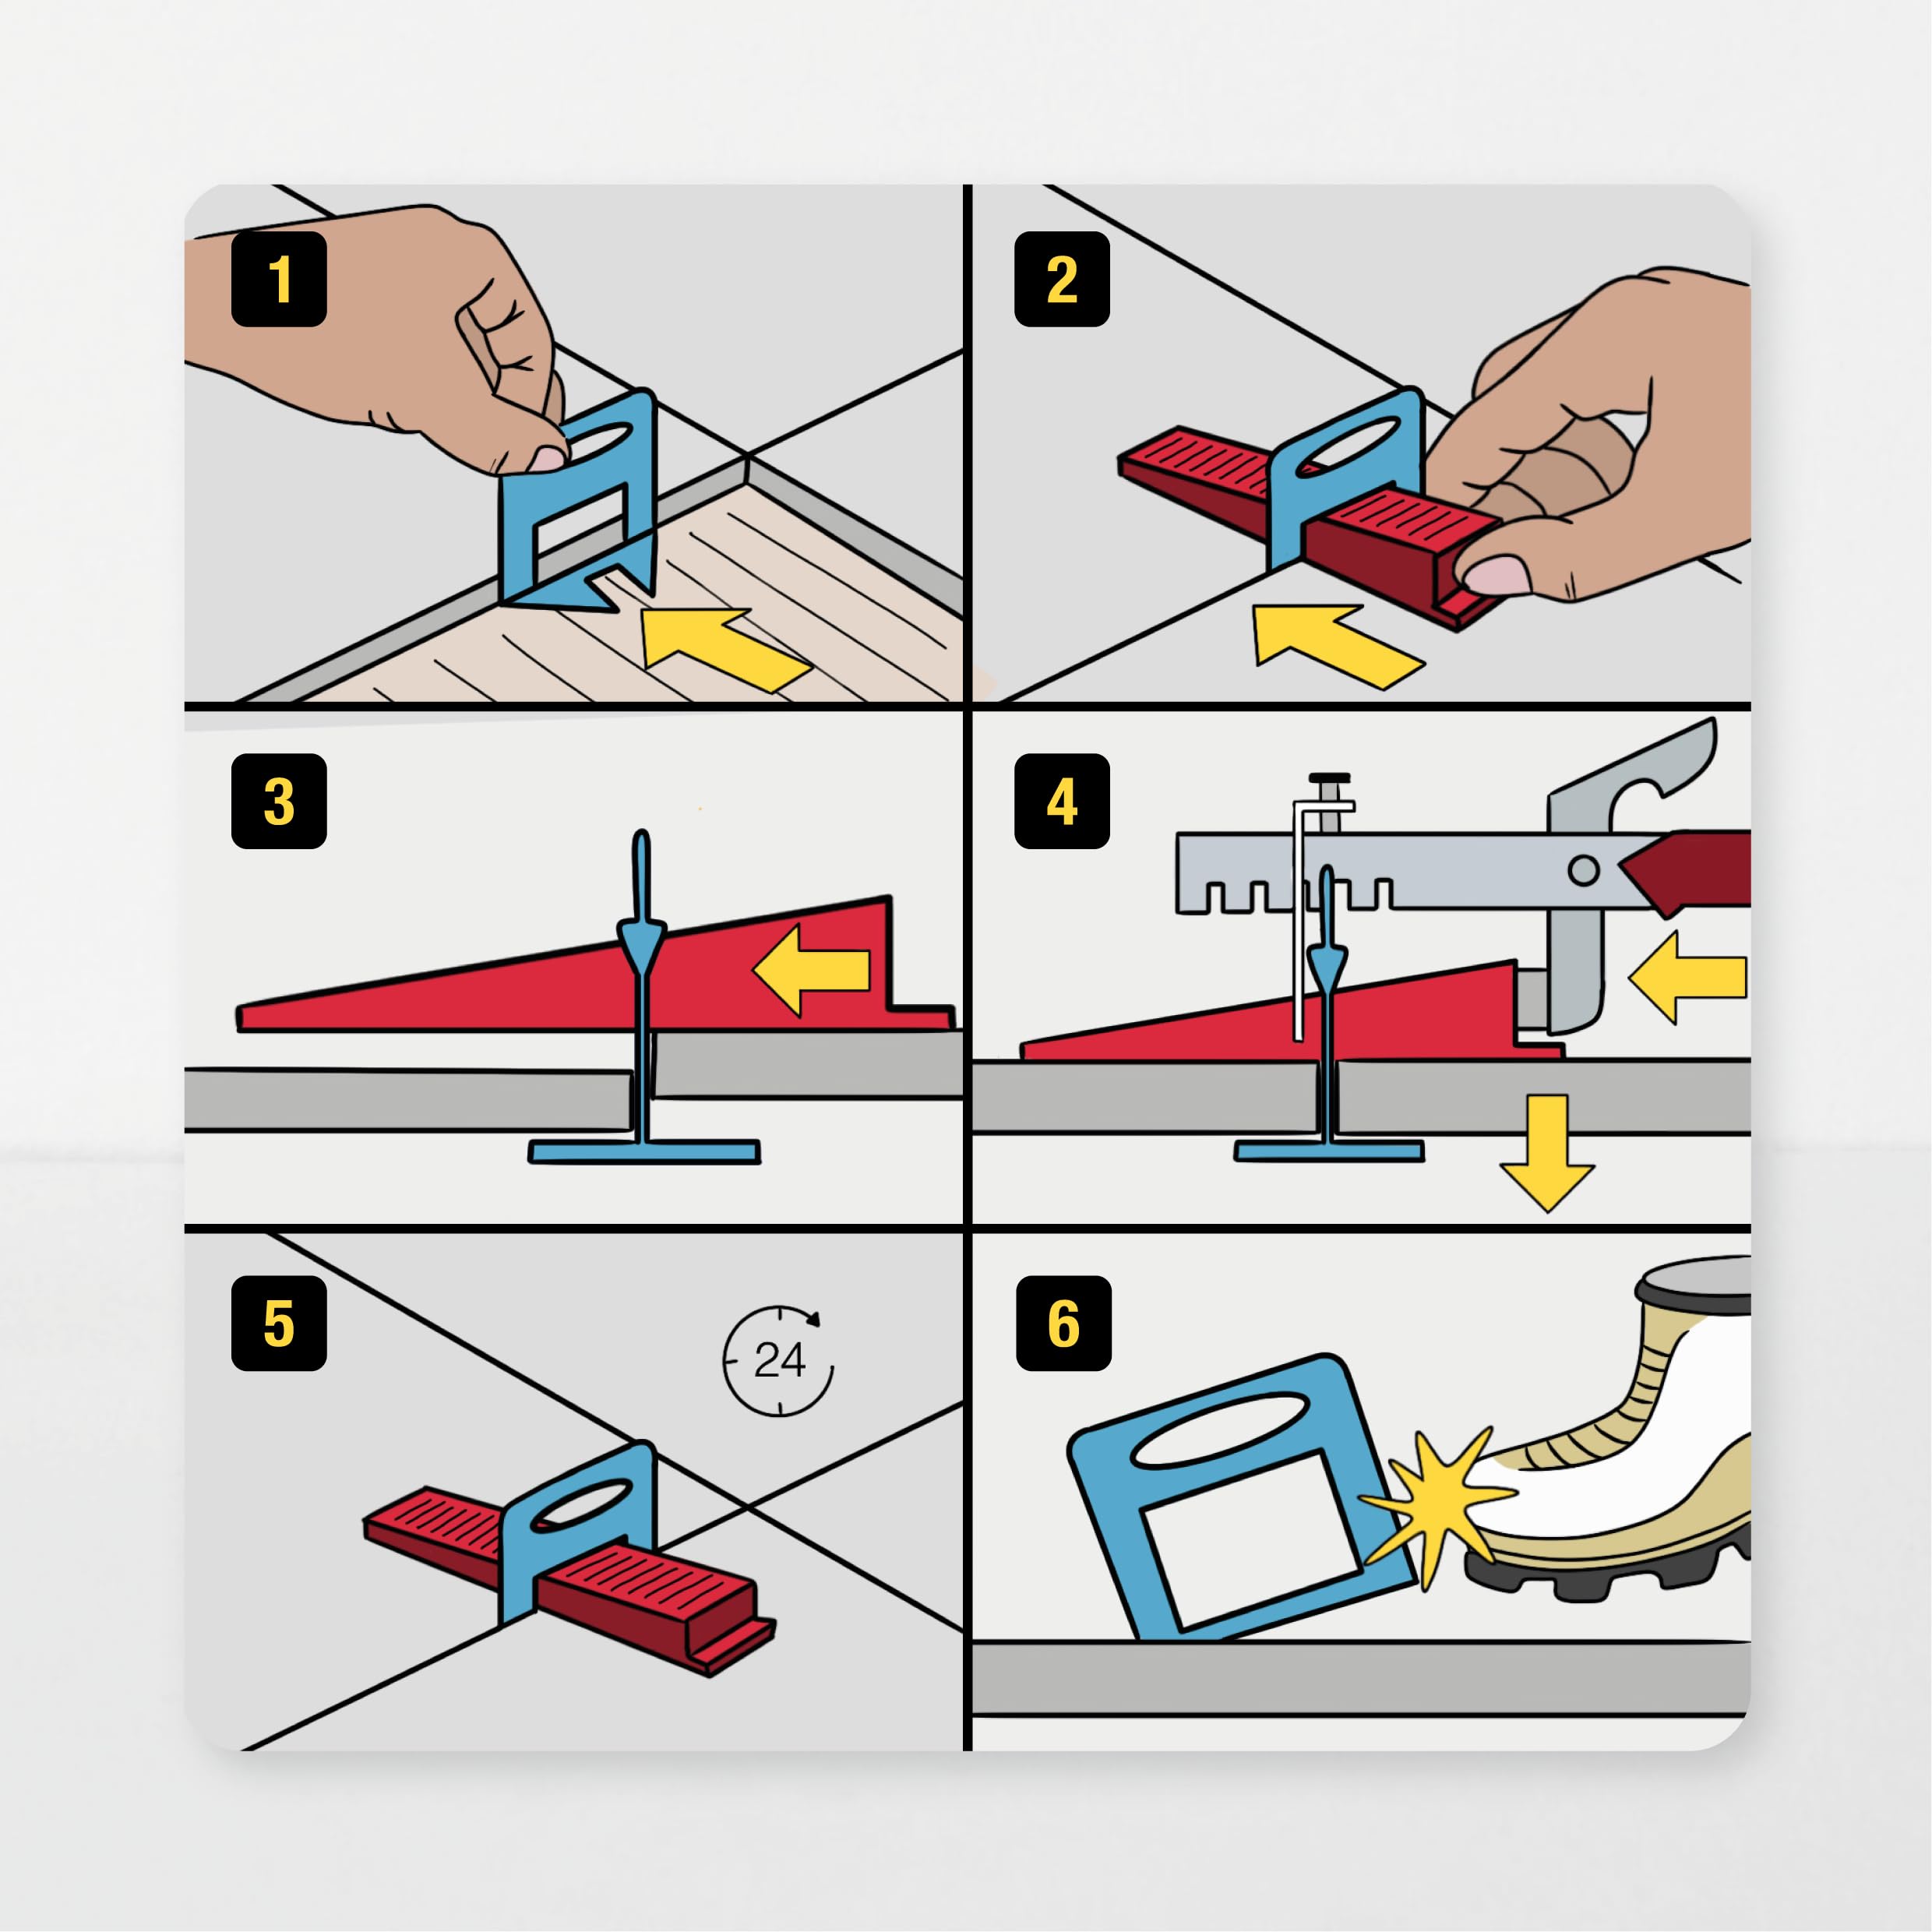
1. Place the first tile. Set the tile into the adhesive bed and check coverage, alignment and starting level. For large-format porcelain, back-buttering is often required by the project specification.
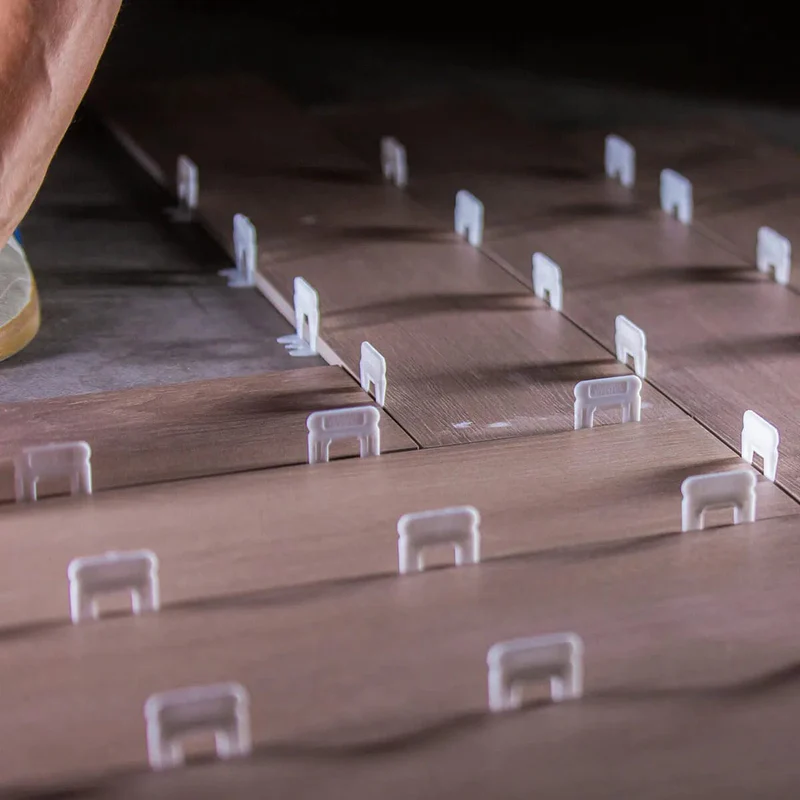
2. Insert clips under the tile edges. Slide the clip base under the tile edge before the adjacent tile is positioned. Use enough clips for the tile format; larger formats need more control points per square meter.
3. Position the second tile. Bring the next tile against the clip spacer, keeping the joint clean and the edges aligned. The clip body sets the joint width and creates the channel for the wedge.
4. Insert the wedge. Push the reusable wedge through the clip head by hand first, then use pliers for repeatable tension. The goal is firm contact, not excessive force.
5. Tighten with controlled pressure. Adjust the pliers to the tile thickness and tighten until the two tile surfaces sit flush. Over-tightening can lift a tile or squeeze adhesive out of position.
6. Wait for full adhesive cure. Do not break clips while the adhesive is still soft. Follow the adhesive manufacturer's cure time and site temperature guidance.
7. Remove the clip stems. Once cured, strike or kick the exposed clip stems in the direction of the grout joint. The base remains below the tile, while the wedges can be collected and reused.
Field tips for cleaner results
Use the same clip thickness across a continuous surface, especially in open-plan floors where joint lines remain visible for several meters. Keep wedges clean and dry; adhesive build-up on reusable wedges reduces grip and makes tension less consistent.
For project procurement, plan one plier per active installer and order clips as the consumable item. Wedges are reusable, so clip quantity normally drives reorder timing. For a fast quotation, share tile size, total floor or wall area, preferred joint width and target packaging format.
For 60 x 60 cm tile formats, the Aluprofilium catalog reference estimates approximately 11 clips and 11 wedges per square meter. Actual consumption changes with tile size, layout and perimeter cuts.
Useful documents
The current leveling catalog includes clip, wedge and plier references, pack quantities and visual usage guidance. The spacer data sheet adds cross spacer and T-spacer sizes for distributors who want to ship complete tiling accessory ranges alongside leveling systems.
Download the leveling systems catalog or open the spacer data sheet.