
Start with the edge condition, not the profile name
Tile trims can protect an exposed edge, finish an external corner, separate surfaces, create a decorative line or transition between materials. Begin by describing the edge condition and what the profile must do after installation.
A wall corner, floor transition, stair edge and decorative insert may all involve tile, but they require different profile geometries. Installation photographs or detail sketches help prevent a visually similar profile from being selected for the wrong function.
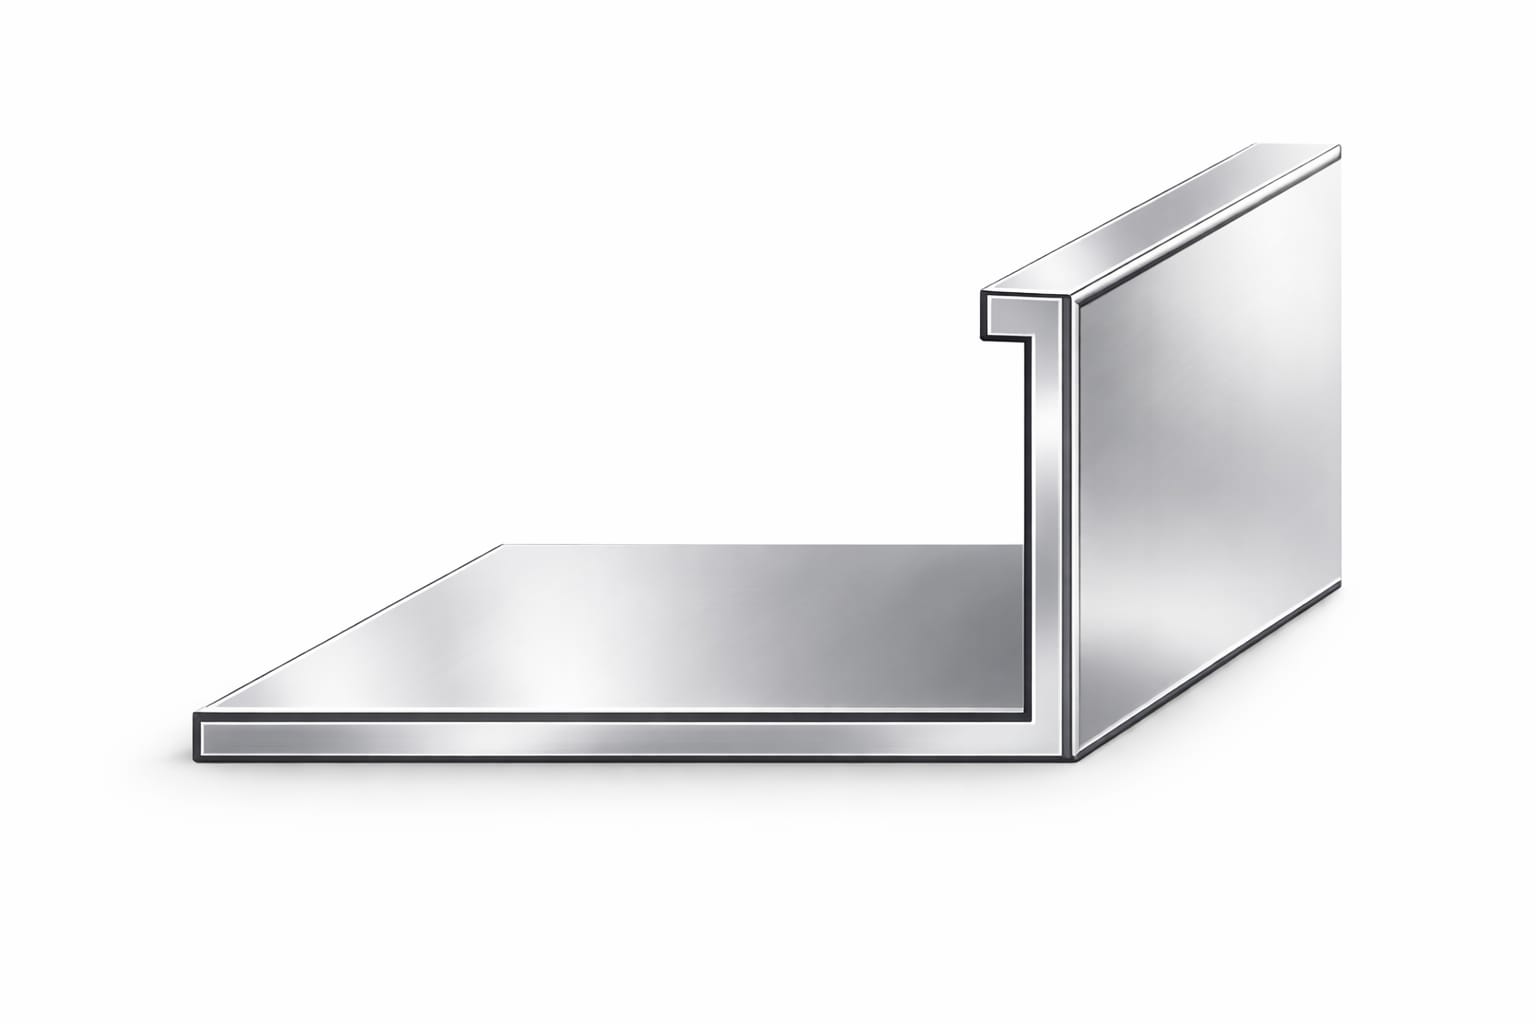
Compare tile trim families by function
| Profile family | Typical role | Key selection question |
|---|---|---|
| Straight edge trim | Clean termination and exposed tile-edge protection | Which face and edge remain visible? |
| Round edge trim | Rounded corner or edge transition | Is a softer visible radius required? |
| Closed round edge trim | Rounded finish with a more enclosed section | Does the termination require a closed profile form? |
| Listello profile | Decorative line or separation within the tiled surface | Is the profile a visual insert rather than an edge termination? |
| T-profile | Covering or separating a joint between adjoining surfaces | What joint width and surface relationship must be covered? |
| Threshold profile | Transition at doorways or between flooring conditions | Are the adjoining surfaces level or at different heights? |
| Stair nosing | Step-edge finishing and protection | What tread, riser and edge geometry must the profile meet? |
Relate profile height to the complete tile assembly
The trim must be considered with the tile and installation build-up, not tile thickness in isolation. Adhesive, substrate condition and profile geometry can affect the finished relationship.
- Confirm the actual tile thickness rather than relying only on a nominal product description.
- Review how the profile base sits in the adhesive bed.
- Identify whether the visible edge should finish flush, slightly proud or according to a specific construction detail.
- Use a sample or site mock-up when the visual relationship is critical.
The correct profile height depends on the product geometry and the installed assembly. Do not apply a fixed extra allowance without checking the actual detail.
Choose finish direction in the installation context
Finish selection should account for the surrounding tile, adjoining metalwork, lighting, cleaning routine and whether the profile remains highly visible. Mill, anodised, brushed, bright, powder-coated and decorative directions create different visual results.
For colour-sensitive projects, define a reference such as an approved sample or colour code where applicable. Also identify visible faces and any handling protection expected during packing and installation.
Use the aluminium profile finishes guide to compare finish directions in more detail.
Capture corners, ends and installation details
A trim family alone may not describe the complete installation. Show external and internal corners, open ends, changes in direction and transitions to other materials.
- Edge map
Mark where the profile starts, stops and changes direction. - Corner treatment
Identify mitred, formed or accessory-based corner expectations if already defined. - Length schedule
List standard lengths or required cuts and the quantity for each condition. - Reference surfaces
Show tile, stone, flooring or wall finishes that meet the profile. - Sample approval
State whether a physical sample is required before the order is confirmed.
Tile trim RFQ checklist
- Application: wall edge, external corner, decorative insert, floor transition or stair edge
- Preferred profile family or reference image
- Tile and complete assembly thickness information
- Required profile height and critical dimensions, if already defined
- Finish, colour and visible-face direction
- Profile length and quantity
- Corner, end and accessory requirements
- Packaging, labelling and destination details
Tile trim selection questions
How do I choose between straight and round edge tile trim?
Choose according to the required visible edge and corner form. Straight edge trims create a more linear termination, while round edge trims provide a softer radius. Confirm the actual installation detail before selecting.
Should tile trim height match tile thickness exactly?
The complete installed assembly should be reviewed, including profile geometry and the adhesive bed. A universal allowance should not be assumed without checking the specific detail.
What should I send for a tile trim quotation?
Send the application, preferred profile shape, tile or assembly thickness, finish direction, length, quantity, destination and photographs or drawings of the edge condition.
Can a finish be selected from a website image?
Website images are useful for direction, but screen colour and lighting vary. Colour-sensitive orders should use an agreed reference or physical sample where applicable.